|
www.lecterns.auckland.ac.nz |
|
|

|
Lectern 1
Click the various buttons on the illustration below.
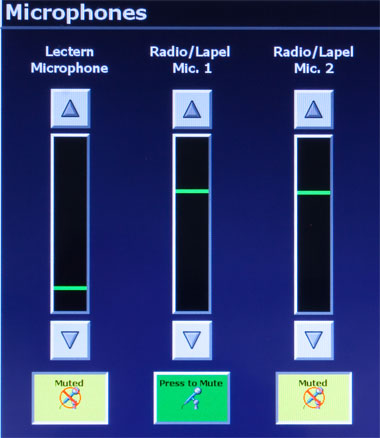
 Use the document camera to project paper documents or objects. 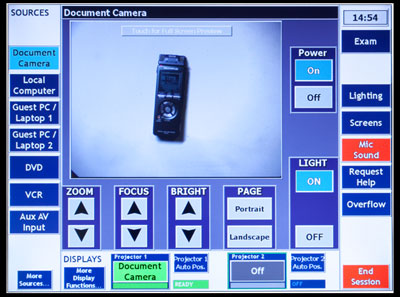 Tip: Portrait and landscape buttons affect the projected orientation. Use the local computer as your source for presenting PowerPoints, navigating the web or browsing your USB stick. 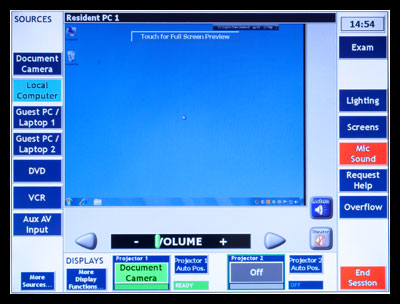 Common problem: The computer has been turned off. (The computer is housed beneath the electern. Once you have touched the screen, the lighting is dimmed so check the PC is on before you start.) Common problem: Display your own laptop on the projector. 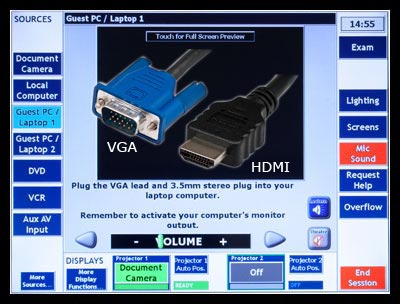 Common problem: no video signal. Display your own laptop on the projector.  Common problem: no video signal. Insert your DVD into the player below the electern. Use the touch panel to control playback. Always use the Open-Close button on the screen to open/close the DVD tray. 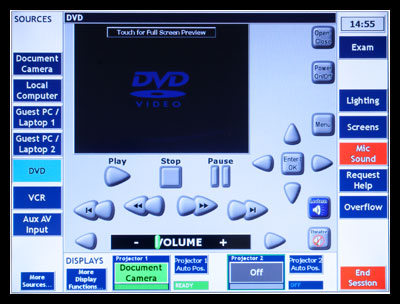 Common problem: DVD won't play. Try ejecting the disc from the DVD player and playing it on the local PC; run VLC media player installed on the local PC. This can resolve DVD zoning issues or incompatible formats. If all else fails, VCR players may still be available in older venues but the format is being phased out as newer technology replaces video tapes. 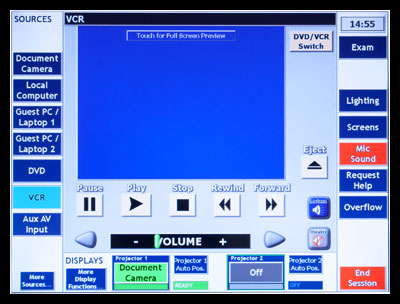 Plug in your Auxilary AV device (video camera, digital camera etc.) using your own RCA cables inserted into the corresponding plugs on the electern panel. It is a good idea to test the equipment before the lecture. 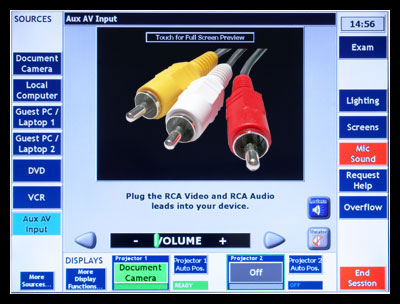 Check here if you cannot find the source you need on the touch screen. For example, sometimes this is the only place to find the 'presenter camera' source. Select the projector (as required) after you have selected the source. Tip: “No Show” means the projector is on but image is blanked. Select a source from the left-hand menu then press the “No Show” button to project the image. Select the projector (as required) after you have selected the source. Always press End Session when finished to reset the room for the next user. Common problem: Previous lecturer has turned off the local computer. Never turn off the local computer as this causes unecessary delays and problems for the next lecture. Most lecture theatres are equipped with a lectern microphone and one radio/lapel microphone. Always use the lapel microphone if you are recording the lecture or moving around the room while lecturing. Additional handheld microphones (controlled with Radio/Lapel Mic. 2, seen here) are available in some venues on request.
Screens 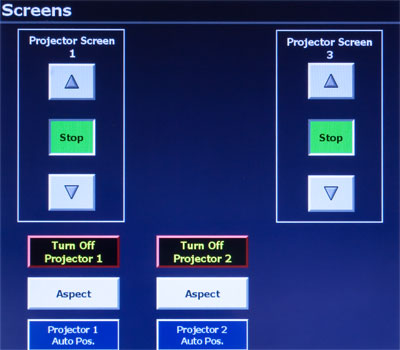 Room lighting  Use Exam mode during exams or conferences to disable room sensors for extended periods of time. Computer, lights and projectors will remain on regardless of extended inactivity. 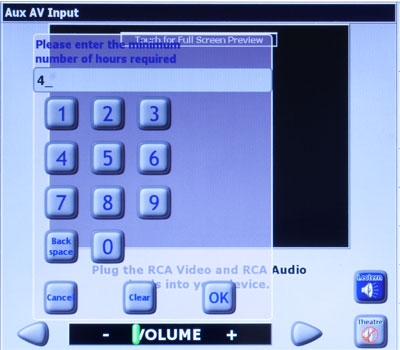 Press Request help to send an email request for help, otherwise use the theatre telephone located in the room to speak with a Service Desk representative. 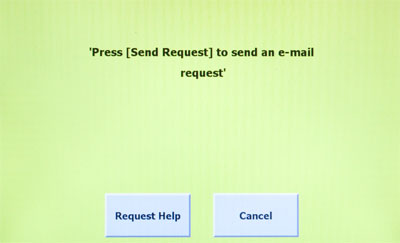 Overflow feature is for lecture theatre technicians only. If you require a large class lecture to overflow into another room, Indicates the projector status. The image may take some time to appear while the projector warms up. “READY” Projector is switched on and ready to project. Indicates the projector status. The image may take some time to appear while the projector warms up. “READY” Projector is switched on and ready to project. More Display Functions reveals Aspect and Turnoff Projector. Aspect will change the projected image ratio from 4:3 (standard) to 16:9 (widescreen). Turnoff Projector allows you to switch off one or both projectors without changing the current configuration; i.e microphones on, screens down, lights dimmed etc. Use Projector 1 Auto Pos to even-up the projected image of the local or guest computer/laptop. Use Projector 2 Auto Pos to even-up the projected image of the local or guest computer/laptop. |
||

 Cannot connect to Internet. Make sure NetLogin is running before the Internet browser is launched. This can be accessed from the computer desktop using and the icon looks like this: